
Updated: February 5, 2025
Learn how to start your own raised bed garden from scratch with no building of any boxes. This no dig, no build, organic raised bed method only requires very few affordable materials. Get started in the spring and plant right away, or prepare it in the late summer or early fall for next spring’s planting.

This post contains affiliate links, which means I make a small commission at no extra cost to you. See my full disclosure here.
It doesn’t matter how full of weeds and rocks the patch of ground you have is to start a vegetable garden quickly.
Gardens are such wonderful things. I love that they provide you with delicious organic food for much less money than the local grocery store. But more than this there’s something amazing about planting seeds, watching them grow, taking care of the plants by weeding watering so good for the soul. It makes the harvest that much more delicious and satisfying.
In a hurry? Pin for later!
8 materials you need to make an easy no build, raised bed garden from scratch
- sunny garden spot
- cardboard
- weed cloth or landscaping fabric (optional, but recommended)
- garden staples or just rocks
- dirt
- compost
- garden tools like a shovel, rake, wheelbarrow
- blow torch or utility knife
- tractor and disk (optional, recommended for large spaces)
How to make a garden from scratch using no-build raised beds
1. Gather the materials.

- Below I go into details about why these materials for a no-build, raised bed garden from scratch. There’s even some tips where to find materials for free.
2. Prepare the garden plot, set back the weeds organically
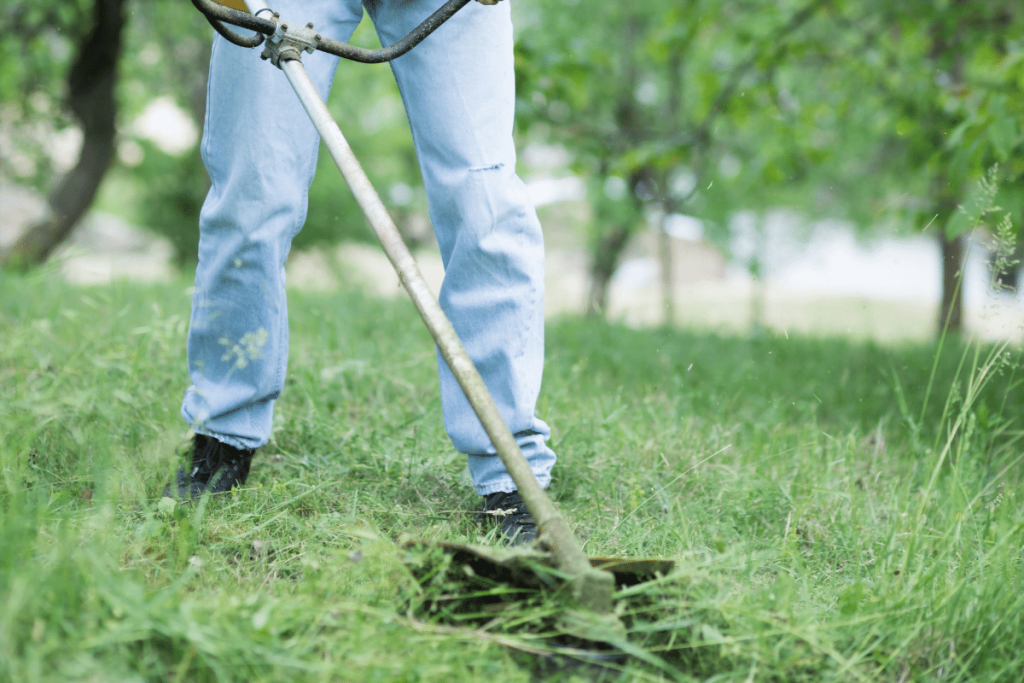
- Second, if you are starting a smaller garden, whack down any weeds to set them back. Ideally late fall and again in early spring right before preparing the garden beds.
- If you are starting a larger country garden, and have access to a tractor & disc. Then disc the soil in the late fall three ways. Repeat this again in the early spring once the frost is out of the ground. This will give the weeds, especially quack grass, a set back.
3. Smother the weeds
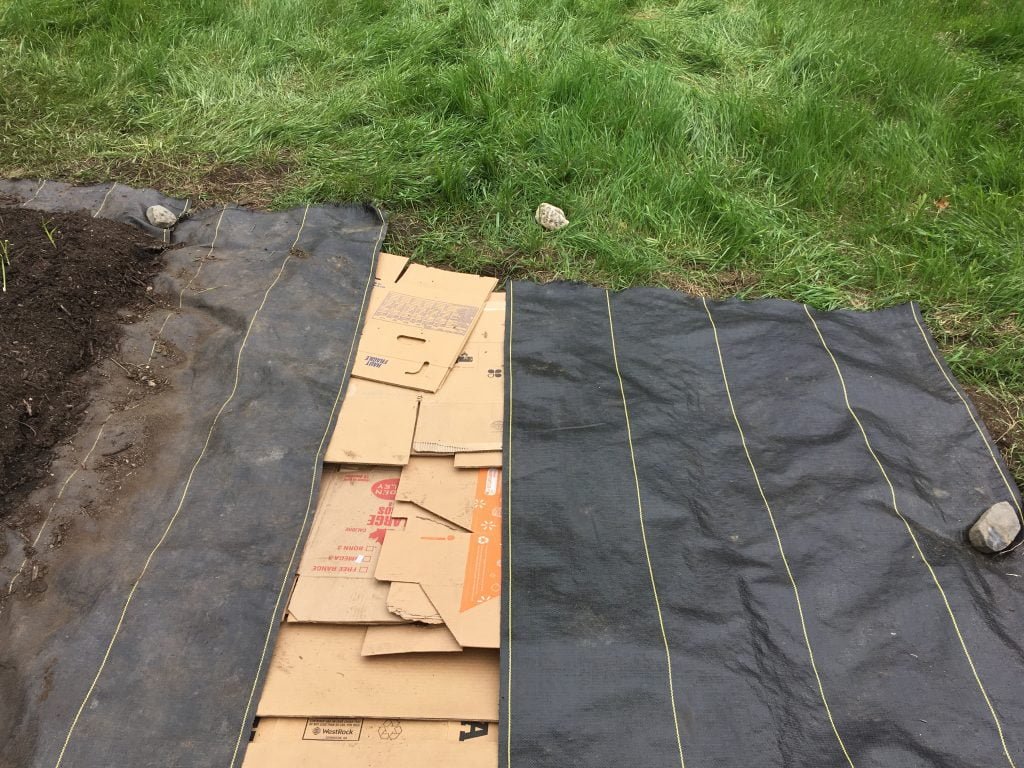
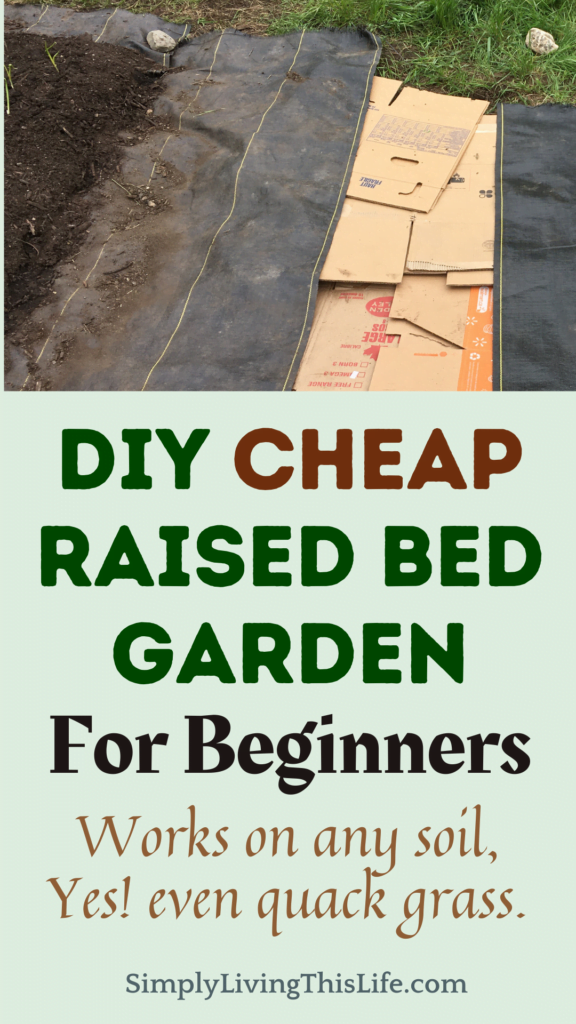
- Next, roll out some weed cloth the length of the raised bed you would like. Use rocks or garden staples to hold it in place so the wind doesn’t blow it away. Cut the weed cloth using a a blow torch to prevent fraying, but an Exacto knife works in a pinch.
- Leave a space of about 2 feet, for the cardboard.
- Roll out a second length of weed cloth the same length as the first. Hold down with rocks or garden staples.
- Now comes the fun part, cardboard! Remove any tape, plastic or staples.
- Lay down cardboard in between the weed cloth, tucking it under the edges of the weed cloth. If you can, double up the cardboard to give extra thickness. You want at least 6 inches overlap of cardboard to cardboard as well as under the weed cloth. This is very important to prevent those pesky weeds from peaking through because they seem to think there’s a hint of light.
- Place about 2 feet of weed cloth at each end of the bed on top of the cardboard. Use rocks/garden staples to hold it in place.
4. Now for the Dirt!
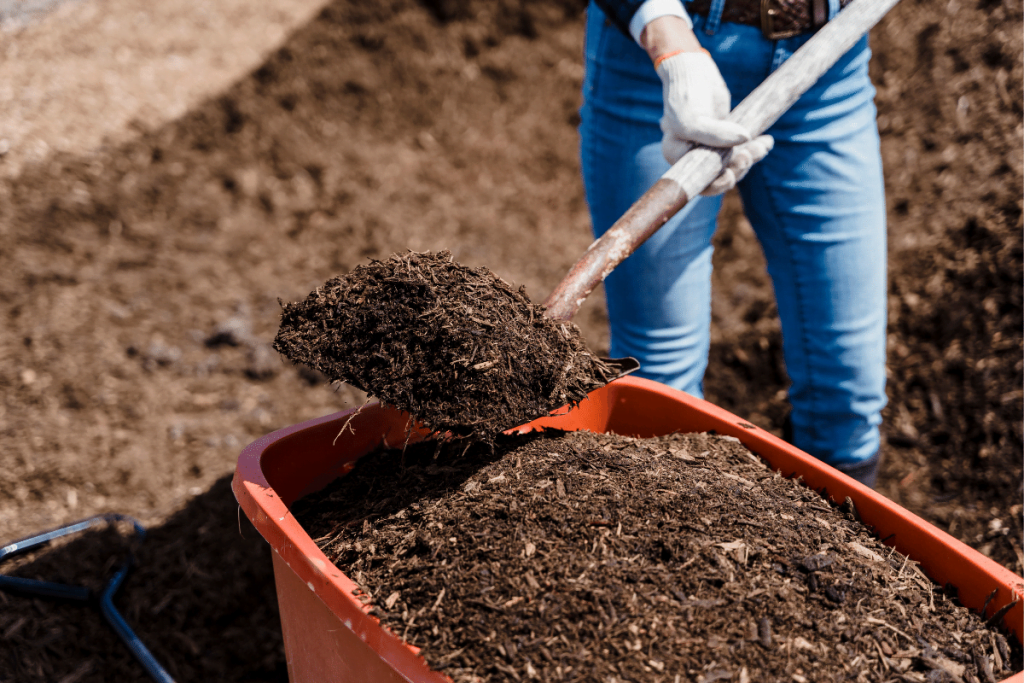
- Pile the soil compost you sourced on top of the cardboard about 12-18 inches think. Thicker is better for root vegetables. Only 4-6 inches for non-root veggies. However, don’t forget about crop rotation in your planning.
- Use the rake to shape, level and smooth out you raised bed. Pack it down by stepping all over the top. Add more dirt if you need too. Then use the rake again to smooth it out.
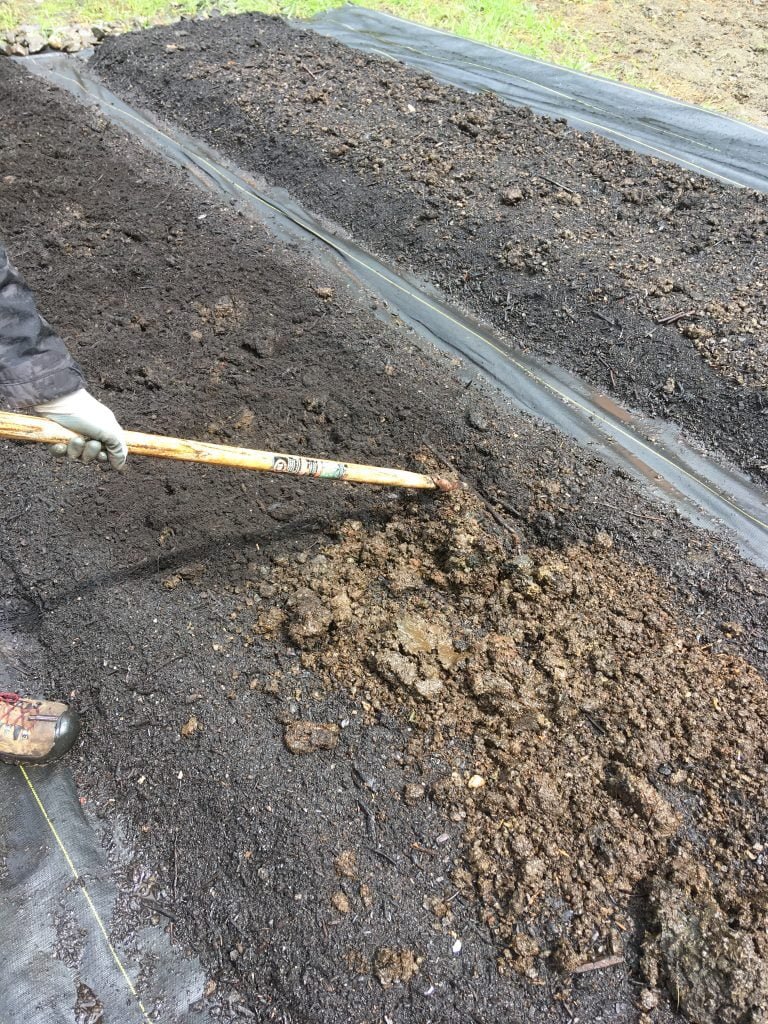
- Pile the rich compost on top. Mix it in using the rake in both directions.
- Finally smooth the top and now you’re ready to start planting those vegetables seeds!
5. Start Planting your raised bed vegetable garden
- Congratulations, now you have a from scratch, organic, no dig, no box, raised bed vegetable garden. Happy gardening!
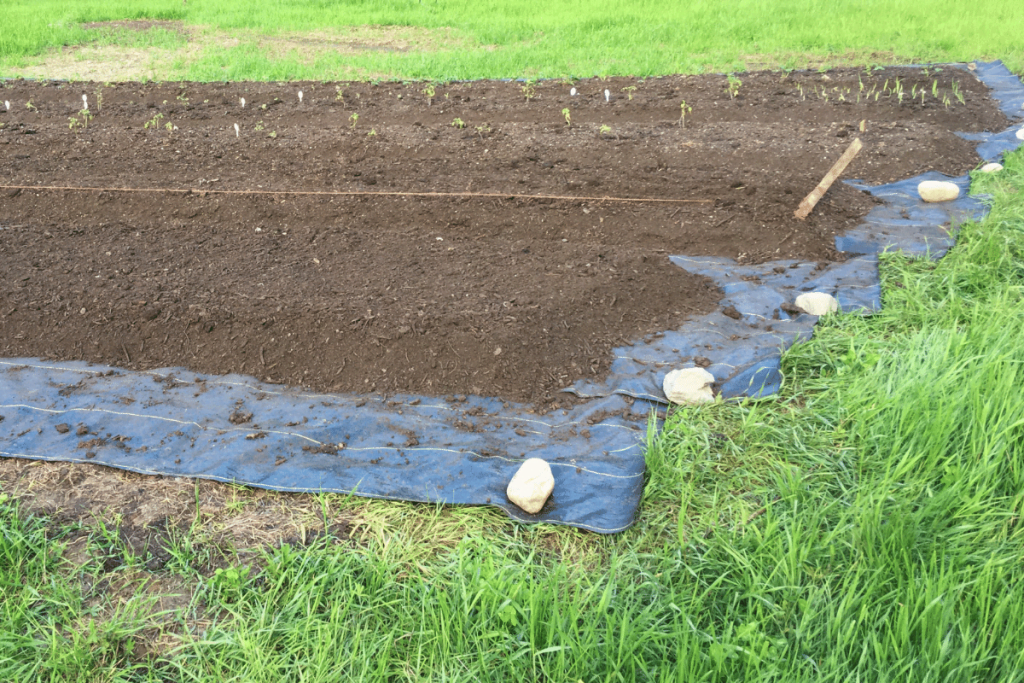
As you can see in this picture below, it works.
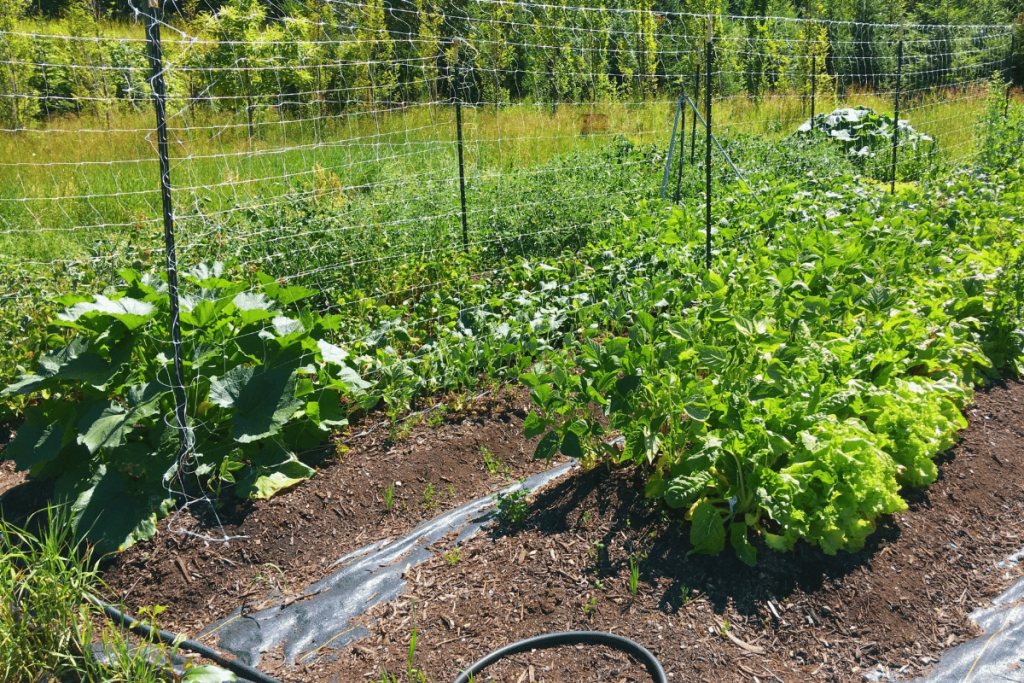
The garden is growing well, and no quack grass! The only place it’s flourishing is on the outside of the garden, right where we want it.
The 8 materials to make an easy garden from scratch, raised bed, no dig, no wood vegetable garden
1. Garden space
Use what you have to start a garden! It doesn’t matter how full of weeds your garden plot is or how rocky the soil is with this method. As long as it isn’t completely shaded all day long, it’ll work.
The trick is to smother the weeds using the weed cloth and cardboard. You will create a no dig raised bed without needing to build anything. The best part is you can plant straight into, even this spring!
2. Cardboard
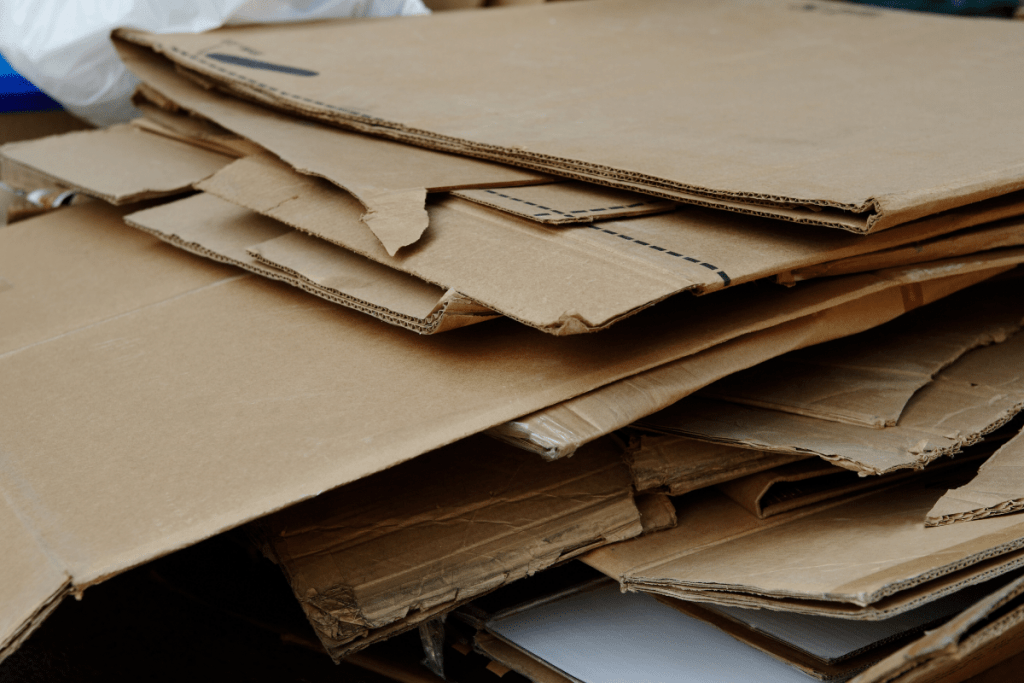
Cardboard, cardboard and more cardboard! Start collecting as many larger pieces as possible.
This will be going in between the weed cloth underneath your raised bed. You want brown cardboard, no plastic or anything shiny on it. Make sure to remove any tape, stickers or staples on the cardboard.
The cardboard’s job is to smother the weeds. Then it will decompose to create a connection for your raised bed with the amazing microbes and worms in the soil which will feed your plants.
Ask local businesses for cardboard boxes, usually they are happy to give it away. Appliance stores are great as their boxes are bigger, but smaller pieces will do. Grocery stores, dollar stores, liquor stores, anywhere.
Sometimes even the recycle place will allow you to take cardboard. Make sure to inquire about it first.
Now, if you aren’t fighting quack grass or some other super hard weed to kill off, you may be able to get away with only cardboard. Hurray, it’s cheaper this way.
So if that’s you, where I talk about weed cloth, just use cardboard instead. However, makes sure to overlap it well, you may have to replace cardboard on the walkways throughout the first year or so, as weeds will try to peek through. It can work, Charles Dowling, the guru of no dig organic gardening, only uses cardboard to start his garden beds with good success.
3. Weed cloth (Landscaping fabric)
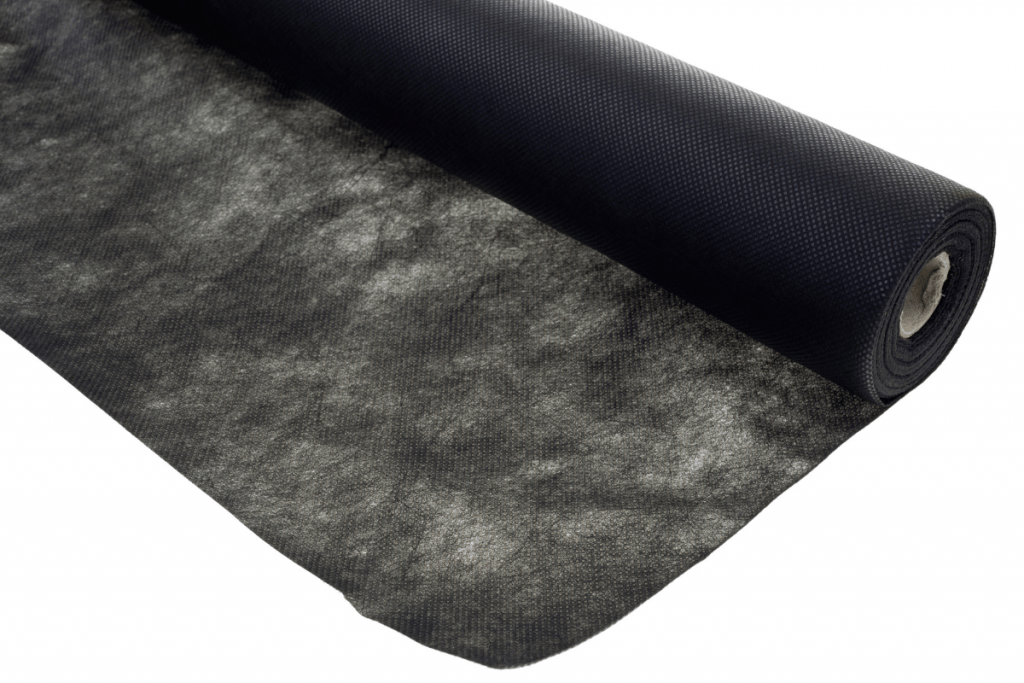
You will ideally want 4 foot wide roll of weed cloth, it works well if you are making 3-4 foot wide beds with pathways 1-2 feet wide. This can be sourced at your local garden supply store.
The quality depends on how hard those weeds are to kill. However, you don’t need the most expensive kind either, even if it’s a quack grass patch.
Optionally, you could plan to also put weed cloth on top of your raised bed too. You would need to burn holes or strips for planting the seeds. This is a good idea if you have no time for weeding but want a vegetable garden, or your soil is filled with weed seeds.
I personally prefer no weed cloth, at least not for the first year. I like to feel the soil and feel the freedom to drop seeds wherever I want without having to think, “Do I really want to burn a hole here and put something here again next year?” It feels so permeant, I like more flexibility.
4. Garden Staples or Just Rocks
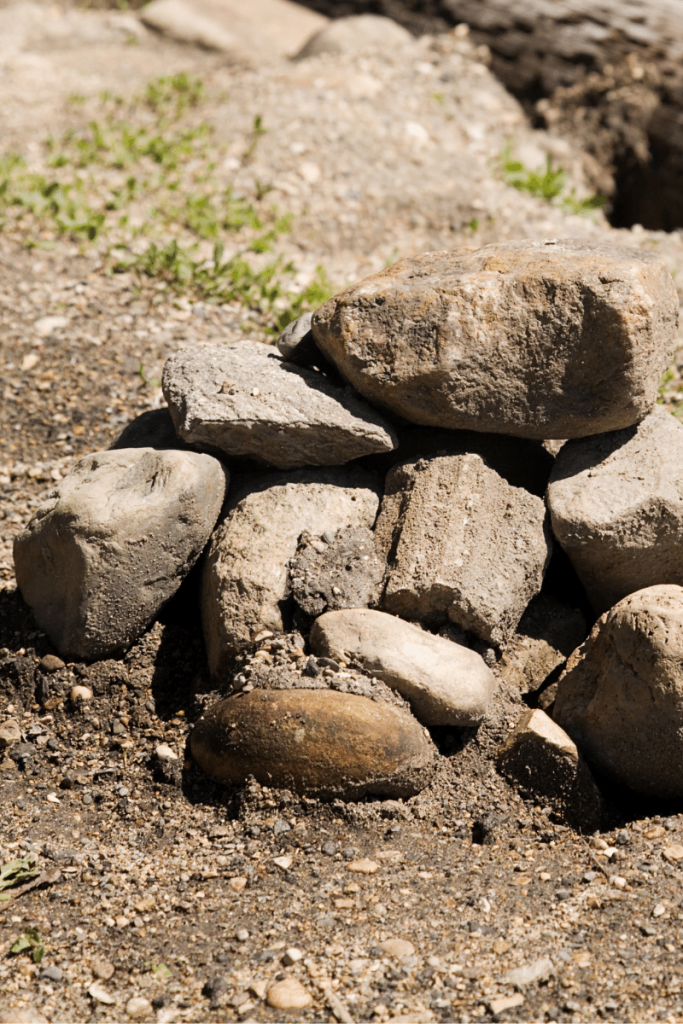
If you have softball size or a bit bigger rocks in your yard, use these. They are free and work just fine. If not, then you can find garden staples to hold down the weed cloth at your local garden supply store. How heavy duty they need to be all depends on how hard or rocky your soil is.
You will need about 4 garden staples per bed. Mostly for the ends of the beds.
If you are only using cardboard, then rocks or even larger sticks or soil will work to hold the cardboard in place in the pathways.
5. Dirt
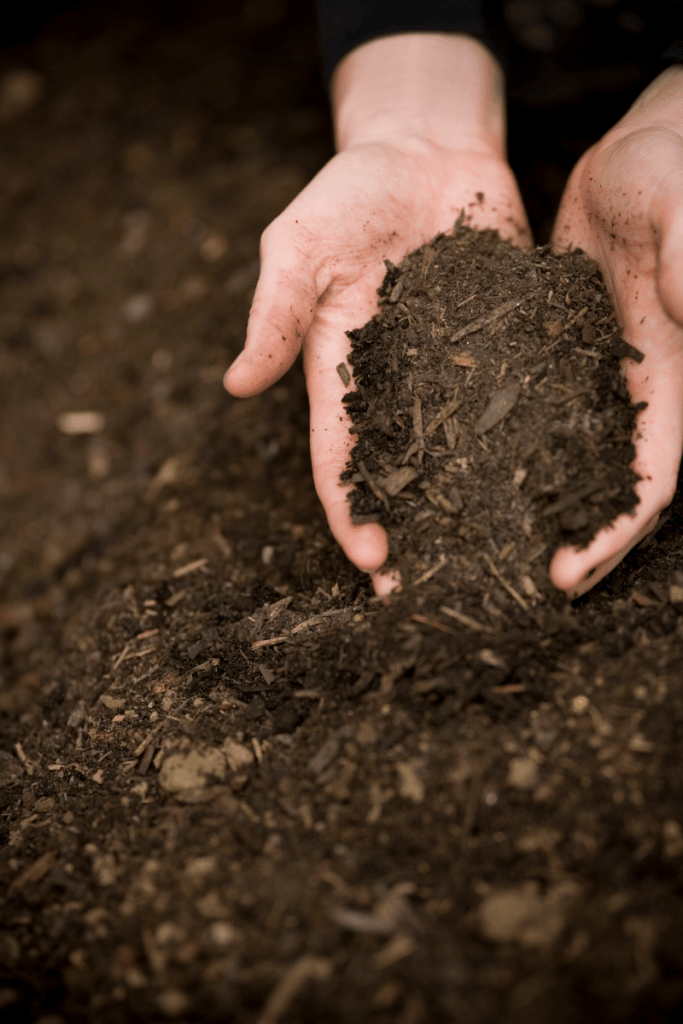
This is where it can get expensive, but it doesn’t have too. Not all dirt is the same, but it does need a certain pH and nutrient level to grow vegetables. Ideally 5.5-6.5 pH.
Use a home soil tester kit to make sure it will be ok first. You can also use litmus paper strips to test the soil’s pH.
We were able to source a lot of compost from our local dump for FREE! Check with your community to see if they make compost with the local organic household and yard wastes. You may be able to borrow a friends truck and load it up.
You have to be careful here as the soil pH may not be the ideal 5.5-6.5 pH, and it will burn your plants.
6. Compost
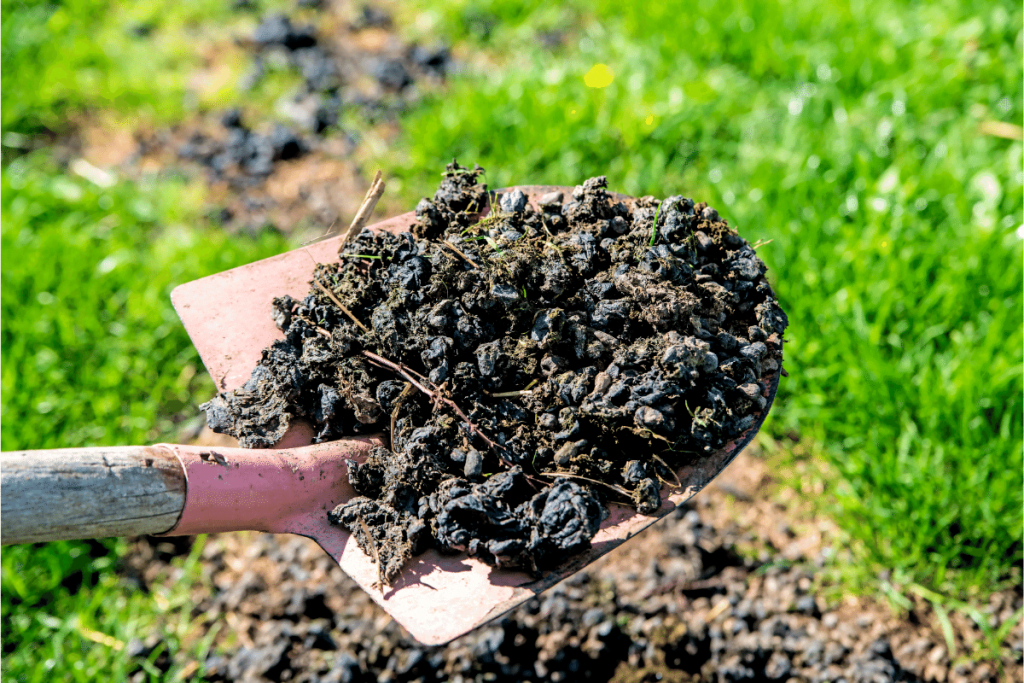
If you do a home soil test for P, K, N to determine if you need to added compost. You can use the local community compost or ask a local farmer for some animal poop. If it’s not free, perhaps the barter and trade system can be used here to save you some money?
If you decide to use poop, make sure it won’t burn your plants. Otherwise you may need to prepare your garden beds and plant in them the following year. Alpaca poop is best as it won’t burn plants so plants can be put directly into the garden beds.
Additionally you can work in alfalfa pellets and glacial dust to give your plants an extra boost, but only if your soil’s microbiology needs it.
7. Tools: Shovel, rake, wheelbarrow
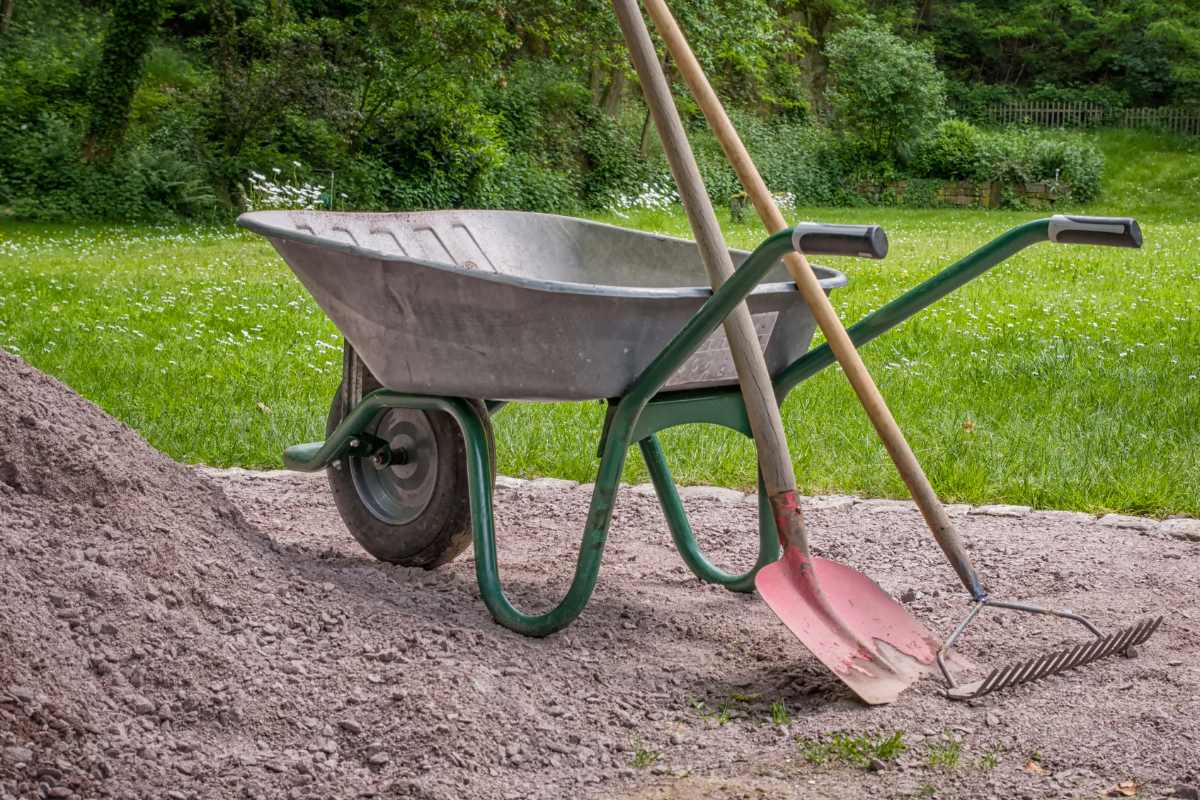
If you don’t have these already I suggest looking on your local buy and sell marketplace. No need to get them new.
These tools will come in handy in preparing the garden beds as well as later on during harvesting too.
8. A cutting tool
A blow torch, Exacto knife or scissors is needed to cut the weed cloth. Any of these will do. The advantage to using the blow torch is that it will keep the weed cloth from fraying in the future.
9. Tractor and disk (optional) for larger spaces with lots of quack grass
This really depends on the size of your garden space your starting with. For most of us are just doing a smaller vegetable garden in our backyard this is not necessary. If you are doing a larger garden and you are dealing with quack grass, this would be helpful.
Still don’t have these? No, you don’t need to go out and buy them, even if your garden plot is larger. Ask a neighbour to help. If you are living rurally often tractors and disks are around.
If you can and need to use a disc and tractor, I’d suggest discing different 3 directions. Ideally do this at the end of fall and again as soon as the ground is thawed in spring. This will disturb the quack grass and weed roots enough to give them a bit of a set back. It will not completely eradicate them.
Go ahead and pin this to your gardening board!
Have you ever started a garden from scratch, how did you do it, was it successful? Did you use garden boxes, raised bed garden, in ground? How did you organically deal with the weeds?
I’d love to know what’s worked or hasn’t worked for you. Let me know in the comments below.
Snag this FREE Planing Guide!
Grab my comprehensive planting guide that’s based on your local average frost dates!
You will find a minimalist list of the seeds to start indoors as well as the crops that prefer to be planted directly into the soil. Included are plants that I don’t mention above like all of my favourite vegetables, herbs and flowers.
Shop this post
This post contains affiliate links, which means I make a small commission at no extra cost to you. See my full disclosure here.
- Weed cloth (Landscaping fabric)
- Garden staples
- Home soil testing kit
- Litmus paper
- shovel
- rake
- wheelbarrow
- blow torch
- utility knife


Great info, thanks so much!
This is such a great article, I’ve been wanted to plant a garden in my backyard since Covid but we get a lot of critters and the ground is kind of hard. Been thinking of raised beds and now I have instructions to do it thanks to you!
This looks like such an easy way to make raised beds and quick to do once you have the materials! Thank you!
How neat! I’ve been thinking about starting something like that this year..
This is a great article ! I can’t wait to try this out this season! Thank you ! 😊
Very detailed and informative post!