
Starting seeds indoors is simple, but have you ever had a tray sit there for two weeks and barely anything comes up? If you’ve been there, don’t worry, this post is for you. Sometimes the issue isn’t the seeds… it’s the soil. Learn how to prepare soil for starting healthy seeds indoors.
Over the years, I’ve learned that getting your soil right from the start makes everything easier. Better germination, fewer issues with mold, and stronger seedlings that don’t struggle later on.
I’ll show you how to keep things simple and get the moisture and texture right for growing healthy seedlings.
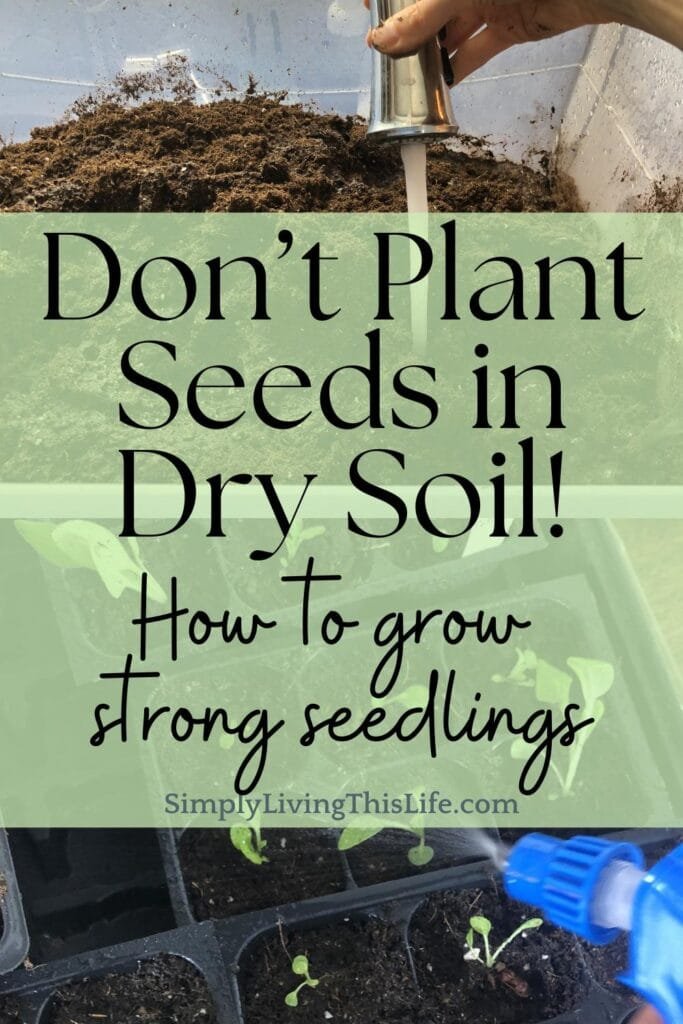
*In a hurry? Pin for later!
- Why soil preparation matters more than you think
- The best soil for starting seeds indoors
- A simple way to prepare soil for starting seeds indoors
- The Squeeze Test: How to test if your seed starting soil is moist enough.
- What if your soil is hydrophobic or super dry?
- Can You Reuse Old Soil for Starting Seeds Indoors?
- 3 simple tips for healthy seedlings
- What to do when mold is growing on my young seedlings?
- Common mistakes to avoid when preparing soil for starting seeds indoors
- You can successfully prepare soil for starting seeds indoors
- Snag your FREE Planting Guide Below!
- FREE Planting Guide
- Shop This Post
- Check out more about gardening!
Why soil preparation matters more than you think
It matters outside when making a new garden bed or inside when starting seedlings for the bed.
When you’re starting seeds indoors, you’re trying to recreate a really specific environment, something that’s moist, airy, and consistent.
If it’s too dense and seedlings can’t push through, too wet and you’ll start seeing mold or damping off, and of course if it’s too dry and seeds just sit there.
I’ve had trays where I thought nothing was happening, only to realize later the soil was too soggy and downed the seeds before they even had a chance.
Seeds don’t need much to germinate, but they do need the right environment.
That’s why taking a few extra minutes to prep your soil properly is so worth it.
Good seed starting soil should:
- Hold just enough moisture (but not be dripping and soggy),
- Airy to allow seedlings to push through the soil
When the soil is off, you’ll notice things like:
- Poor germination
- Mold or fungus growing (like damping off)
- Weak, leggy seedlings
Getting the soil right from the start saves a lot of frustration later after you’ve been pouring time into babying these seeds.
The best soil for starting seeds indoors
Don’t want to use garden soil, trust me! It’s too dense so it’ll compact too much, and it often carries pests or disease you don’t want introduced into your home.
Same goes for straight compost, whether that’s from your chickens or garden compost. This issue with new compost is it can burn your plants plus it may have pathogens and definitely pests in it too.
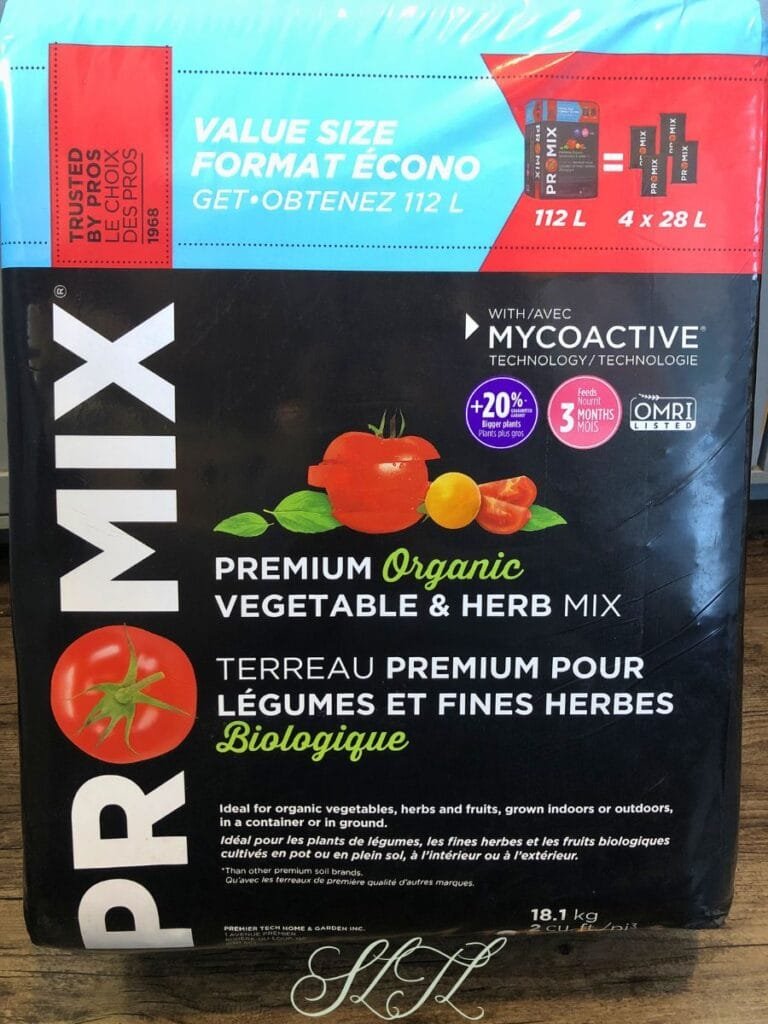
Instead, go with a proper seed starting mix or a light potting mix.
One simple, reliable and beginner-friendly option is organic Pro Mix for vegetables and herbs. It’s easy to find at your local Home Depot or gardening store. If you don’t want to mess around with mixing your own soil, this is a good choice that works well.
When looking for a seed starting mix look for a mix that’s:
- Organic
- Light and fluffy
- Well-draining
- Free of large chunks or debris
If you want to DIY your own seed starting soil mix try this recipe.
A simple way to prepare soil for starting seeds indoors
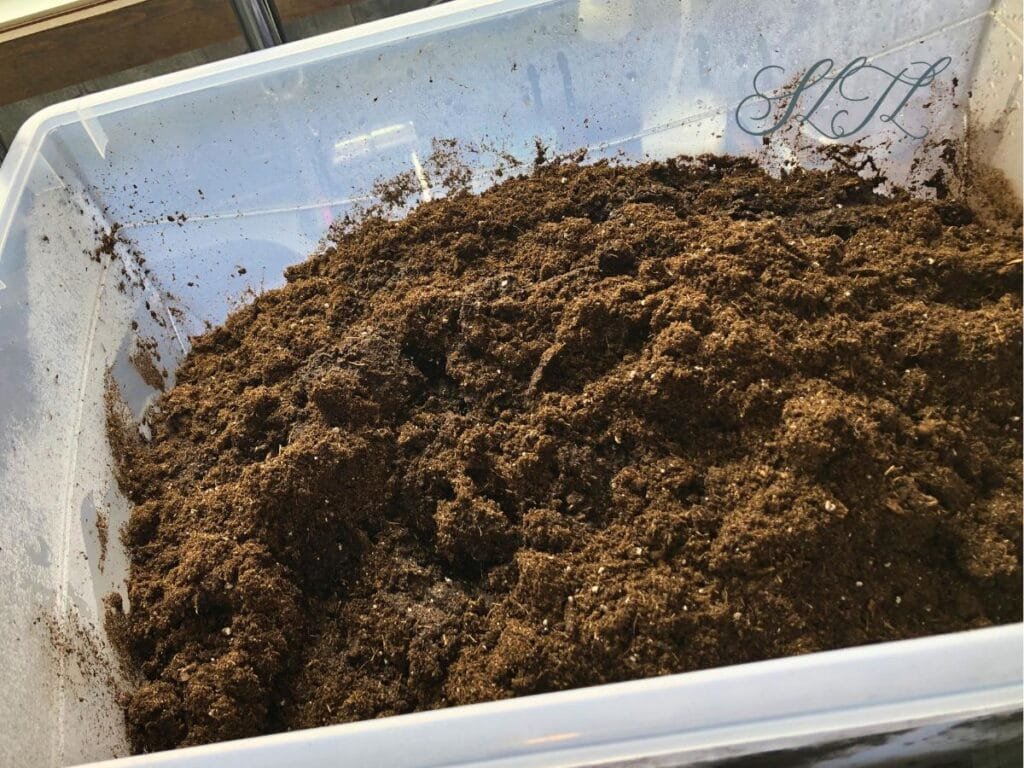
1. Start With Dry Soil Mix
Pour your soil into a large container or bucket. Depending on how much your planing to start I have used anything from my large kitchen mixing bowl to a plastic tub.
If it’s been sitting in a bag, break up any clumps with your hands.
The plastic tub was my favourite as once I got it hydrated I put the lid on and left it in my garage until I needed it for the next batch. Makes the next planting time faster as I didn’t always have to add more moister after checking it.
2. Moisten the Soil First (Don’t Skip This!)
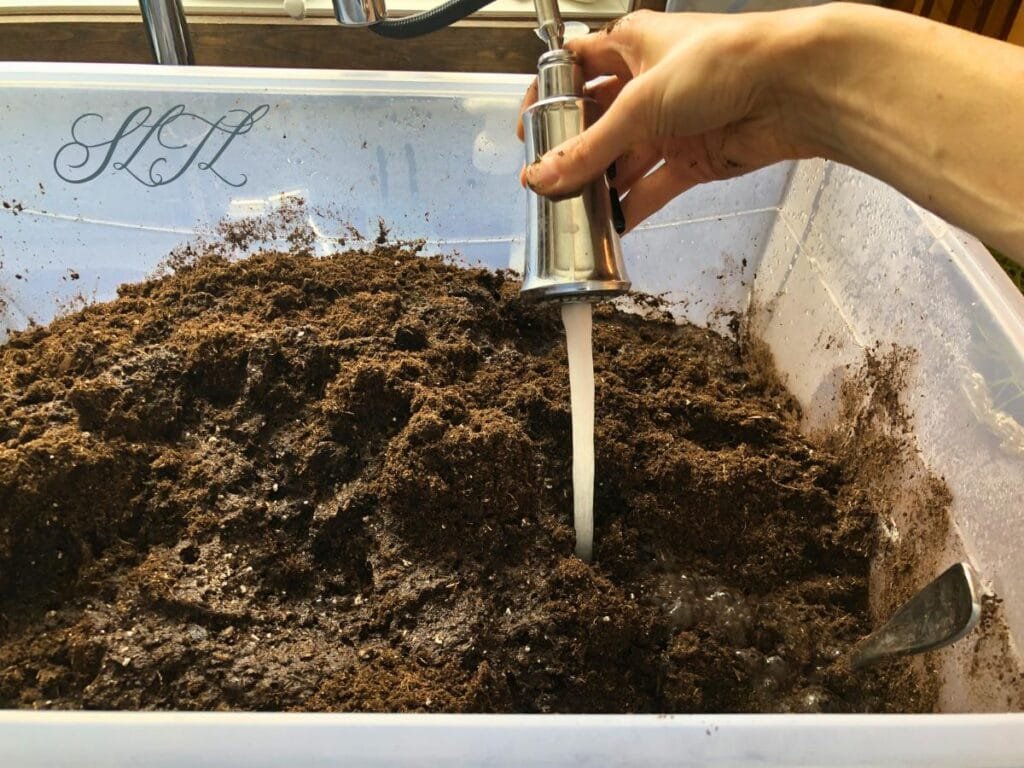
This step makes a big difference with germination, trust me after having not done this.
Add water slowly and mix as you go with your hand or a large spoon. You’re aiming for soil that feels like a slightly wrung-out sponge. You want the soil to feel damp, but not dripping when you give it a squeeze. There will be a squishing sound you’ll hear when you squeeze it.
It’s best to add boiling water from a kettle to make sure to kill off any pests or pathogens. If you do this make sure to use a metal bowl and spoon so you don’t melt anything or burn yourself.
The Squeeze Test: How to test if your seed starting soil is moist enough.
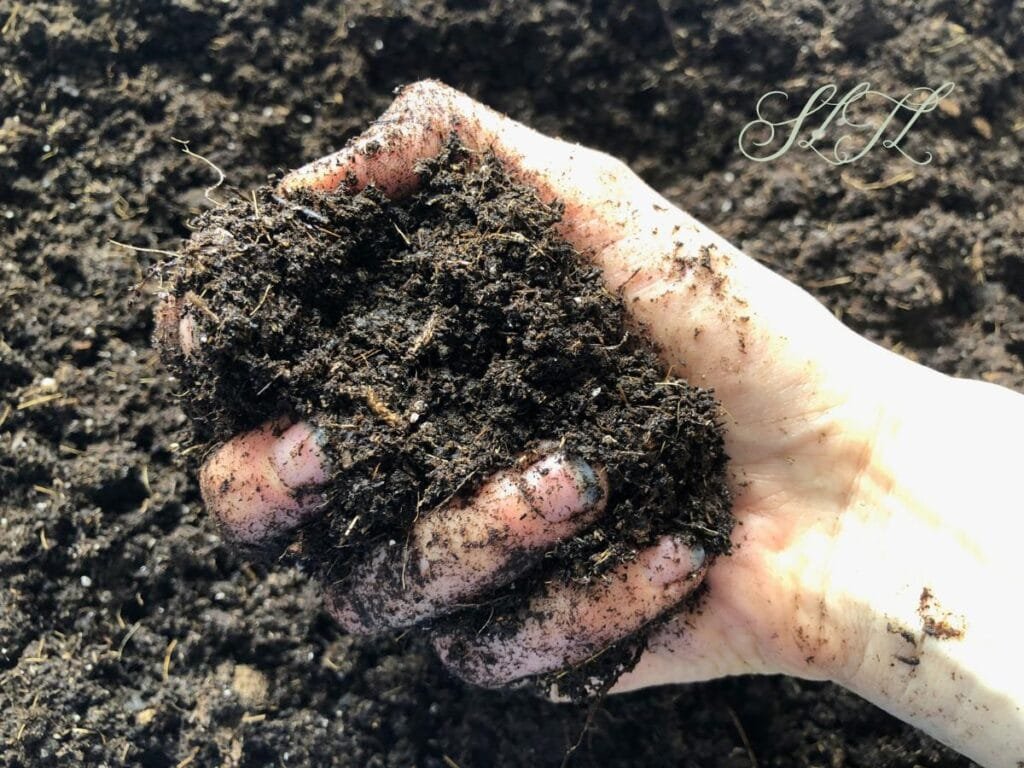
Take a handful of the soil and squeeze it. You should observe these two things.
- It should somewhat hold together once you open your hand.
- The soil should not be dripping wet when squeezed, however you can hear a squish of water in there.
Pre-moistening seed starting mix helps seeds settle evenly and prevents dry pockets so that your seeds will germinate in contact with moist, not soggy soil.
3. Fill Your Containers
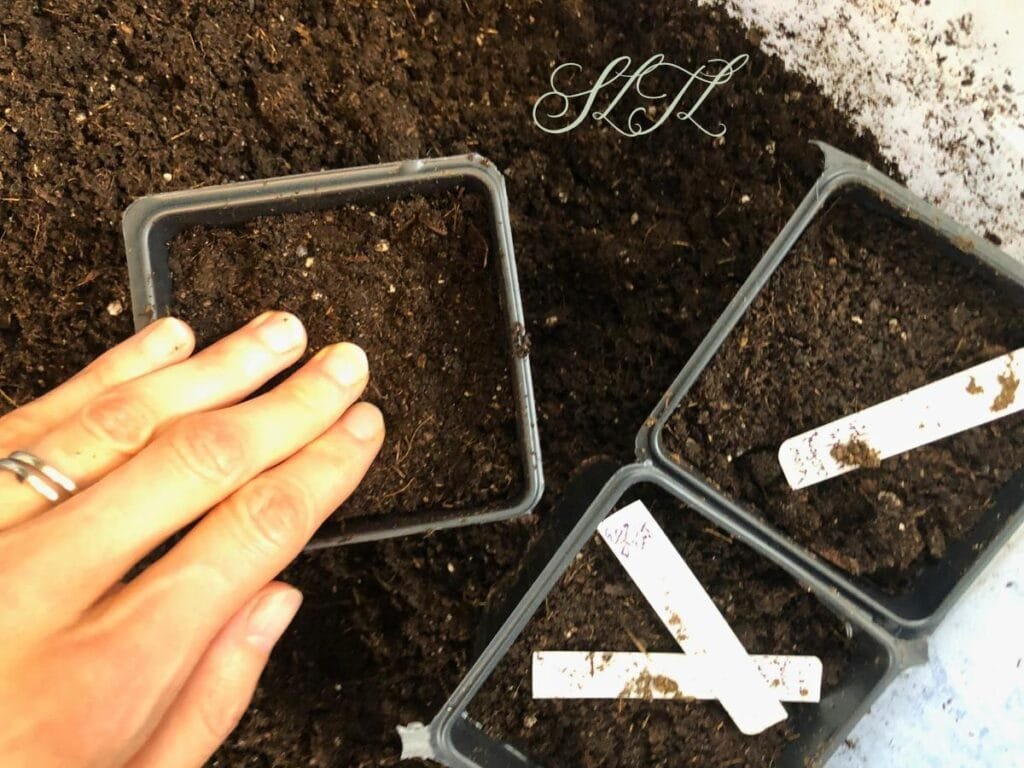
Scoop the soil into your trays or pots, gently packing them down with two fingers.
Make sure not to over pack and let it stay airy for the roots to develop and the seedling to push through.
Use your fingers to smooth things out. Press just hard enough to create an even surface for planting. You don’t want the soil packed so hard the seedlings are struggling to come through.
Don’t forget to leave a little room at the top so watering is easier later.
What if your soil is hydrophobic or super dry?
If you’ve ever opened an old bag of soil and noticed water just beads up and runs off, you’re dealing with hydrophobic or super dry soil.
This happens a lot with peat-based mixes (like many Pro Mix blends), especially if they’ve been sitting in a garage for a year or more. This is me basically every year or two.
Don’t worry, the good news is it’s totally fixable. I do it all the time!
How to Rehydrate Old or Hydrophobic Soil
- Start slow: Add a smaller amount of warm water and mix thoroughly.
- Let it sit: Give it 5-10 minutes to absorb (kind of like an autolease in sourdough bread baking)
- Mix with your hands: Feel for dry pockets and break them up as you mix.
- Repeat as needed: You will have to repeat this multiple times. Keep building moisture and mixing in instead of dumping water all at once.
If the soil is really stubbornly hydrophobic:
- Add a tiny drop of dish soap to your water (this helps break surface tension),
- Or mix in a bit of fresh soil to revive the structure.
You’ll know it’s ready when the soil starts absorbing water evenly again and it passes the squeeze test.
Can You Reuse Old Soil for Starting Seeds Indoors?
Yes, you totally can, I’ve done it a handful of times.
Simply watch out for these two things. If the soil hasn’t grown diseased plants or is full of roots or debris.
Then you can refresh your seed starting soil by:
- Breaking the soil up.
- Mixing in some fresh seeds starting soil like Pro Mix.
- Rehydrating it properly as explained above.
For seed starting, though if you want to play it on the safe side for your first couple times then, lighter and fresher is usually better.
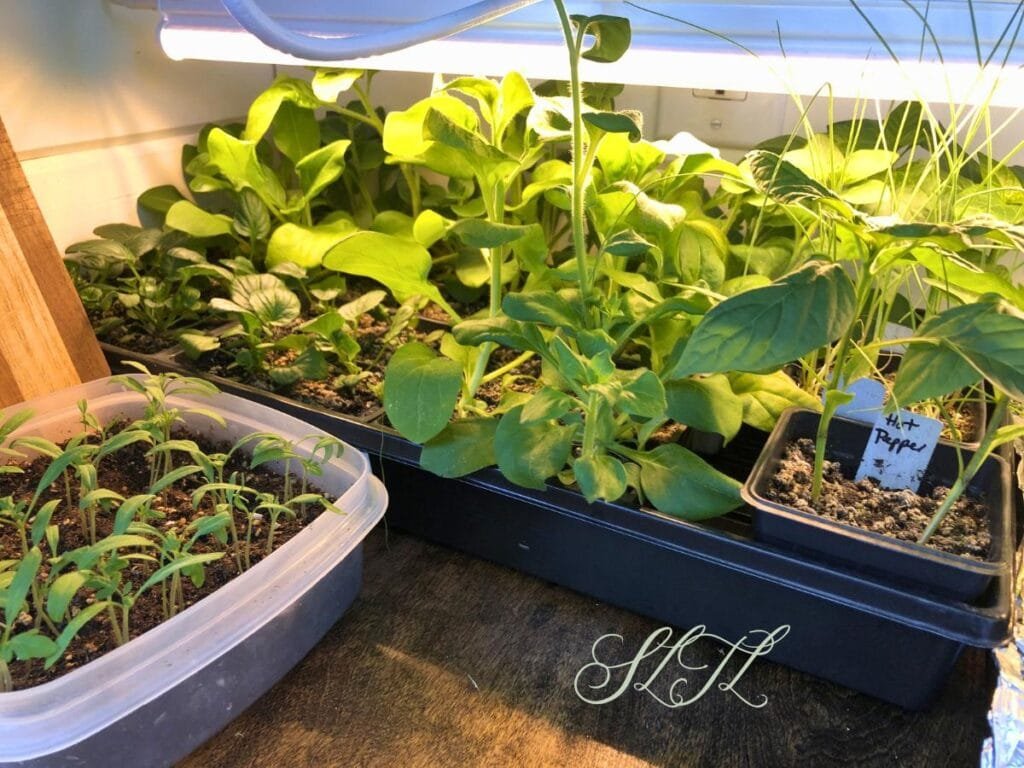
3 simple tips for healthy seedlings
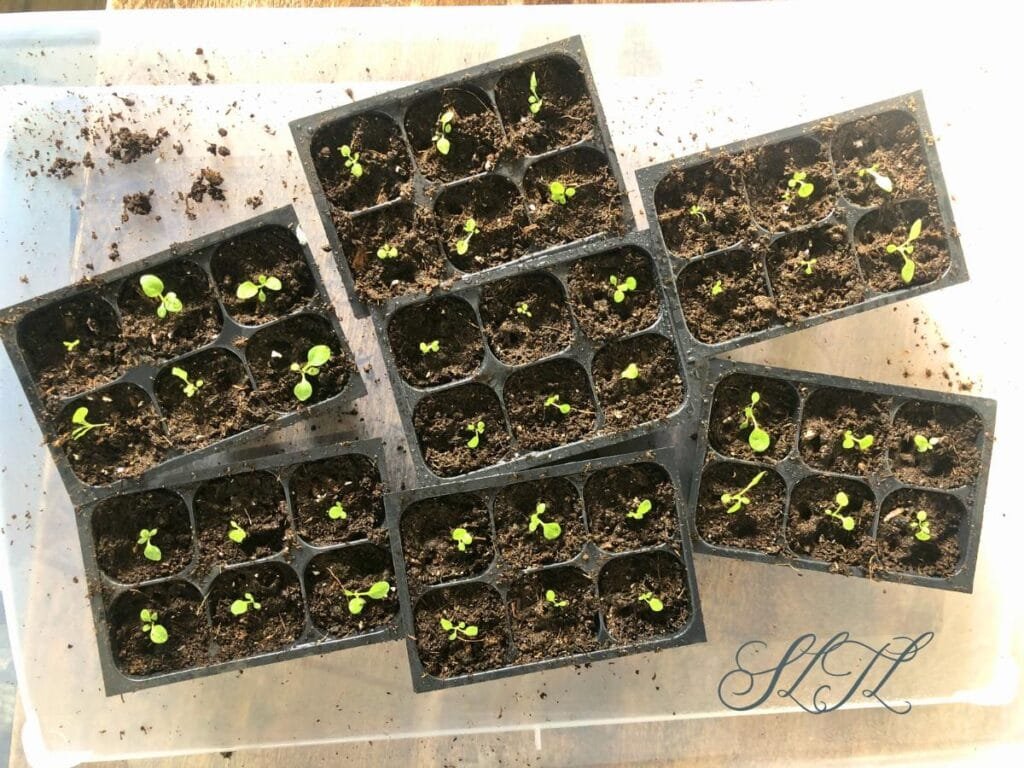
Once your soil is prepped and planted make sure to do these as well. It’s super important in order to successfully grow healthy starts.
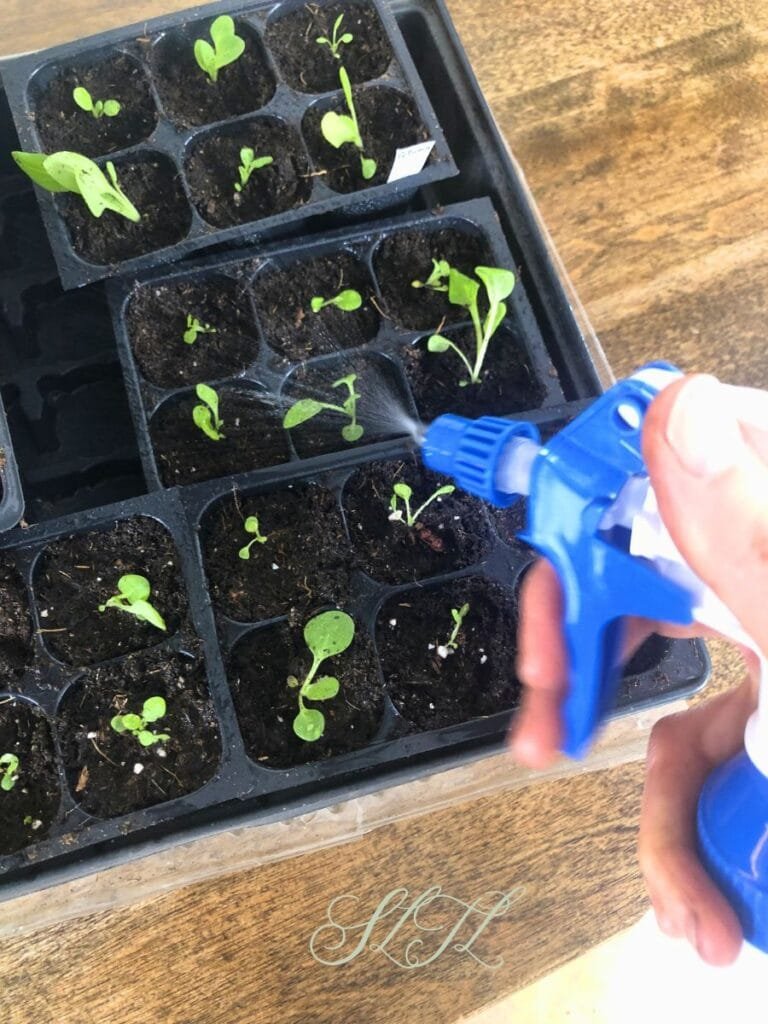
Before the seedlings come up you want to cover the seeds with plastic to and mist the soil to keep it moist (not soggy) for germination. You don’t want the seeds to dry out as they will die.
- Bottom watering: Once the seedling are up, however, make sure to water from the bottom. All my containers for the starts have holes, even if I made them myself in the bottom of a tofu container, and are sitting in a tray. You let the top dry out a little it will help to prevent mold from growing.
- Avoid overwatering: Overwatering will either rot your seeds before they germinate or cause mold to grow once they’re up. Lift the trays and get a feel for what feels dry and what feels watered. Touch the soil, even digging down a bit to see what if the soil feels dry and needs watering.
- Give seedlings airflow will help prevent mold from growing. This can be a small fan blowing gently on the seeds.
Gardening is all an ongoing experiment. You’ll grow as a gardener the more you just dive in and garden.
What to do when mold is growing on my young seedlings?
If you notice mold starting to form on the service of the soil once your seedling starts are up try spraying with a little bit of hydrogen peroxide. You will literally see the mold “melt” away.
At the same time pull back on watering for a few days until the mold is more under control. Then when you do water make sure you are bottom watering.
Common mistakes to avoid when preparing soil for starting seeds indoors
When preparing soil for starting seeds indoors make sure don’t do these.
- Using heavy or compacted soil (or use garden dirt)
- Planting into dry mix
- Overwatering right away
- Packing soil too tightly into containers
You can successfully prepare soil for starting seeds indoors
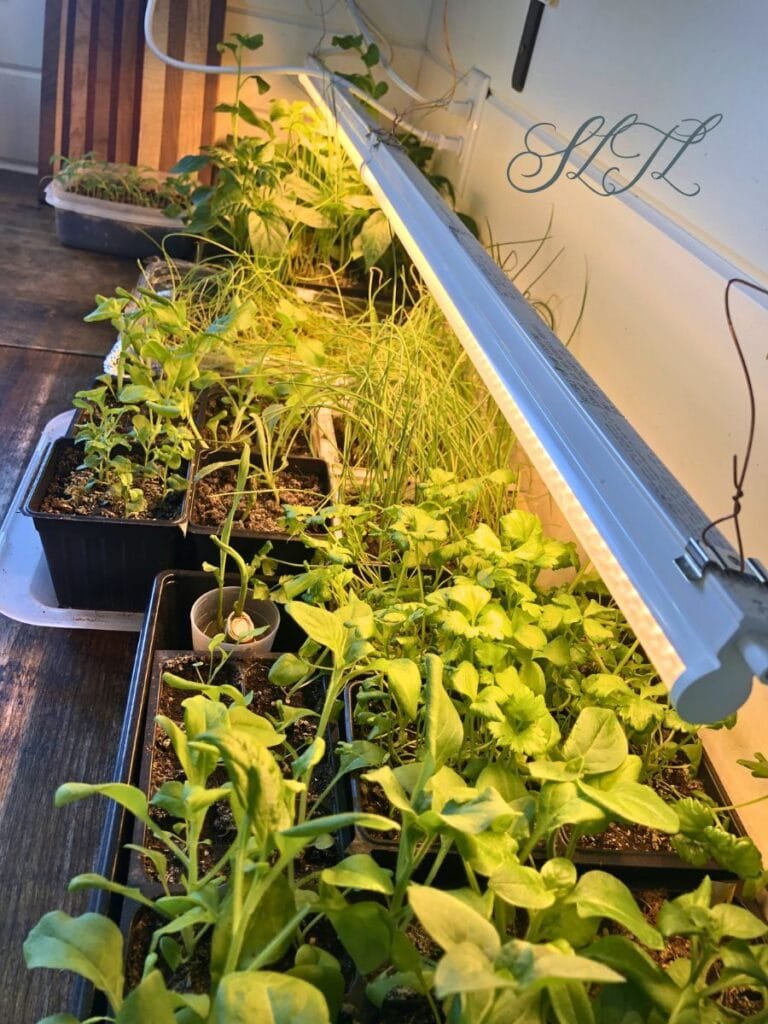
You don’t need totally perfect conditions to start seeds indoors, I’ve done it without a fan, forgetting to bottom water and getting mold, no grow lights only a lamp and window as I started experimenting. However, getting your soil right and some of these other things will make everything easier for you and your little seedlings.
Don’t be afraid to get your hands dirty and just try. You’ll grow better at this gardening adventure each year!
Frequently Asked Questions When Prepare Soil for Starting Seeds Indoors
How do you rehydrate old soil?
If your soil has been sitting for a while, especially in a garage over winter, you might notice that water just runs off the surface instead of soaking in. That’s totally normal with peat-based mixes and it’s ok.
Start by adding a small amount of warm to hot water, not cold, and mix it in thoroughly with your hands or a spoon. Let it sit for about 5-10 minutes so the moisture has time to absorb. Then come back and repeat the process.
It may take a few rounds before the soil fully rehydrates, especially if it’s been dry for a long time.
If it’s really stubborn:
- Break up any dry clumps as you go
- Mix a bit of fresh soil in
- Or add a tiny drop of dish soap to the water to help it absorb
You’ll know it’s ready when the soil feels like a slightly wrung out sponge. You want the soil to feel damp, but not dripping when you give it a squeeze. You should hear a squishing sound.
Can you reuse seed starting soil?
Yes you can reuse seed starting soil! Just make sure it didn’t grow diseased plants or isn’t full of too many old roots or plant material. with a bit of judgment.
I like to remove any larger old leftover plant material, mix in some new soil for improved structure and nutrients.
Now it’s ready to rehydrate, use boiling water to help kill any diseases or pathogens.
How wet should soil be for seeds?
Your soil should feel like a slightly wrung sponge when you grab a handful of it.
- Damp to the touch
- Holds together when squeezed
- Sounds like your squishing water out when you squeezed
- But not dripping water
If your soil is too dry, seeds may not germinate at all. If it’s too wet, you risk mold or damping-off.
If water drips out, it’s too wet so add some more dry soil. If it falls apart, it’s too dry so add some more water.
Once your seeds are planted, spray water with a spray bottle to keep the moisture consistent on top, not soaked, not drying out completely until germination happens. Then it’s time to switch to bottom watering.
Go ahead and pin this post to you gardening board for later.
Have you struggled with starting seeds indoors? Was it the soil or something else? I’d love to learn from your experience, drop your insights in the comments below.
Snag your FREE Planting Guide Below!
This planting guide isn’t for a specific growing zone, it’s based on your local frost dates! So it’ll work for you! Find out all about your local frost dates and growing zone in this post.
Shop This Post
This post contains affiliate links, which means I make a small commission at no extra cost to you. See my full disclosure here.
My Favourite Places to Order Seeds:
- Baker Creek Heirloom Seeds (USA)
- The Incredible Seed Co (Canada)
Check out more about gardening!
Here are some more of my posts to help you get started in your gardening journey.


This is super helpful! I haven’t started seeds indoors much but would love to do it more and learn more about it 🙂 Thank you for sharing!